
-
- Dedicated Servers
- Dedicated Server Hosting
- Managed Dedicated Servers
- Hyper-V Servers
- Hyper-V Hosting
- Managed Hyper-V Hosting
- What is Microsoft Hyper-V?
-
- Green Technology
- Green Hosting Technology
- Green Data Centre
How to Install OpenVPN Community EditionThis article shows you how to install OpenVPN community edition client to connect to Web Wiz VPN.1. If you have not already received it please request your OpenVPN Configuration File from Web Wiz Support. 2. Download OpenVPN 'Windows installer' from https://openvpn.net/community-downloads/  3. Install OpenVPN from the msi installer using the default settings. 4. Once OpenVPN is installed locate the OpenVPN-GUI in the Windows task bar.  5. Right Click the OpenVPN icon in the Windows task bar and select Import file...  6. From the Open window select your OpenVPN Configuration File provided by Web Wiz support. 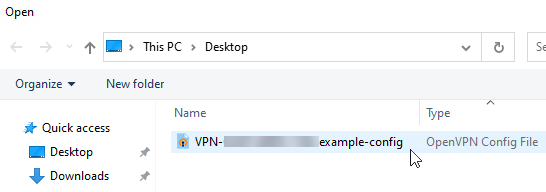 7. Right Click the OpenVPN icon in the Windows Task bar and select Connect. 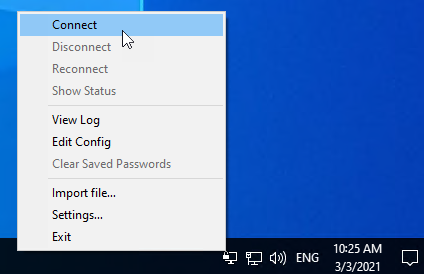 8. Enter the Username and Password provided to you by Web Wiz Support and click OK. 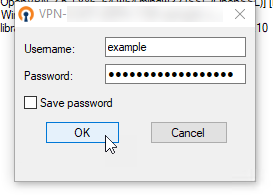 9. OpenVPN will begin the connection to the Web Wiz VPN. 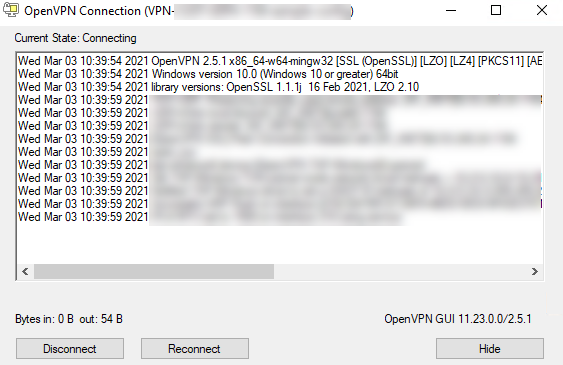 10. Once the connection is completed you will see a notification and the OpenVPN task bar icon will show in green. 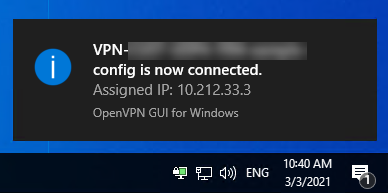 11. Now that you have established the connection to the Web Wiz VPN you can use the Windows Remote Desktop Connection (RDP) Client to connect to your server. 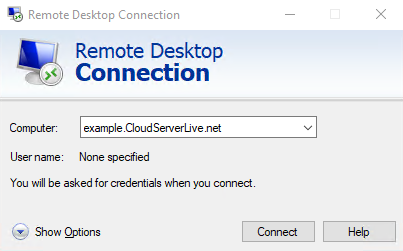 Back To Cloud Server Knowledgebase Menu |
Fully managed or self-managed, from our own solar powered data centre.
Web Wiz® is the trading name of Web Wiz Ltd. Company registration No. 05977755. Registered in England and Wales.
Registered office: Web Wiz Ltd, Unit 18, The Glenmore Centre, Fancy Road, Poole, Dorset, BH12 4FB, UK.
Prices exclude VAT at 20% unless otherwise stated. VAT No. GB988999105 - $, €, prices shown as a guideline only.
Copyright ©2001-2026 Web Wiz® Ltd. All rights reserved.